Create, submit and use a WhatsApp template
Prepare the wording and variables, track Meta approval, then assign the template to the right event.
- 1
Open Message templates
Connect WhatsApp first. Open Message templates and choose a ready-made template or New template. Ready-made wording is a starting point; it still needs submission and Meta approval for your WhatsApp account.
- 2
Set the language, category and content
Use a clear template name, choose its language and the category appropriate to its purpose. Fill the body, sample variable values and any supported header/buttons in the editor. Samples must be fictional, not real customer details. Check the message preview before submission; Meta decides approval and may change the category.
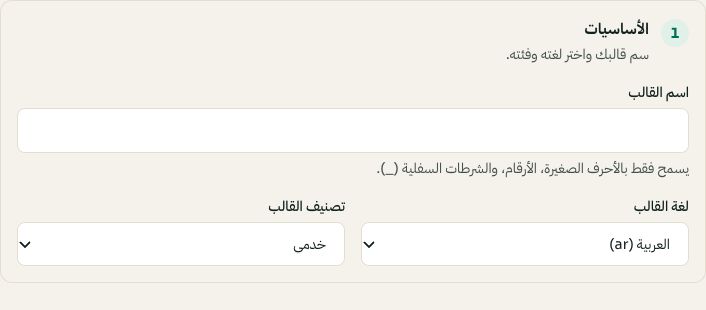
Template editor: name, language and category. Arabic interface shown; use the corresponding labels in your chosen language. Your available options and saved values may differ. Open the image to enlarge. - 3
Submit and refresh approval
Submit the template to Meta and use Refresh status in the library. Pending or rejected templates cannot be selected where approval is required. Read the rejection reason, edit and resubmit. Approval time is controlled by Meta; saving a draft is not submission.
- 4
Assign the approved template
Select the exact template and language in the intended workflow, map required variables and preview before enabling. Return/exchange notifications require approved Utility templates. Saving a template in the library does not enable every automation. Outside WhatsApp's service window, use an approved template; a customer reply reopens free-form replies.